|
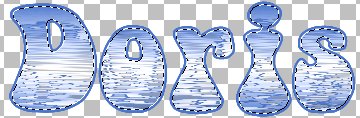
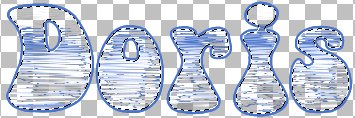
Water Signature Tag
using the Almathera Puddle Filter
by Doris C. Murphy
August, 2003
This tutorial is freely
shared.... Just please don't sell it or claim it
as your own.
|
|
Supplies
Paint Shop Pro
8 You can download
an evaluation copy here
This can also be done
in PSP 7
Almathera
Filter (Free) Download
HERE
My Gradient File - DCM-Bluedream for
PSP8 Download Here
My Gradient File - DCM-Bluedream for
PSP7 Download Here
Font used is Bellbottom Wide Download
here
|
|
This is a long
tutorial, using lots of layers, but I am leaving it on
one page for ease in printing it.
|
|
This tutorial is very detailed and is written
so that those who are beginners to Paint Shop
Pro can create it. |
|
Unzip the Almathera Filter file to a
folder. (Hint: If you create a folder on
your C:\ drive named Filters, you can then add any new
filters to their own folder inside the Filters folder
and you do not need to set the path in PSP8)
|
| If you do not have a usual folder for your
filters, open Paint Shop Pro8. Click on
File> Preferences> File Locations> Plugins and add
the new location of the Almathera Filter. |
Unzip the Gradient File to your gradient folder
(For PSP8 usually My Documents\My PSP8
Files\Gradients)
For PSP7 place in the gradient Folder where PSP7
is installed. (Usually C:\Program Files\Jasc Software Inc\Paint Shop Pro 7\Gradients) |
Unzip the Font file and open it, then minimize it
(you do not need to install it). |
| Now close PSP.
Reopen the program.
(This allows the filter to load) |
|
OK .... LET'S GET STARTED! |
| Open a new image 600 X 150, 16 million
colors, Transparent Background Save this
file as watertext1.pspimage.
|
|
Set your colors: I used Foreground color #4974CB,
Background color, DCM-Bluedream gradient |
|
Click on the Text Tool  then choose the following settings:
Create as: Vector, Font BellBottomWide, Size 54, Stroke width 2.0, Anti-alias
checked,
Alignment center, Line Style solid. Note -
set the size to whatever you want)
Below is a copy of the PSP 8 Text Ribbon.

|
| Place your text on the image. |
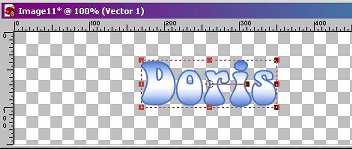 |
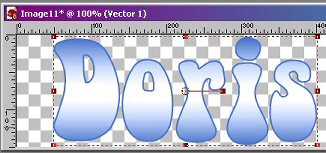
| Now, using the mover handles on the Vector
text, move the text until it is spread out and
the top and bottom are close to the top and bottom
edges. |
 |
|
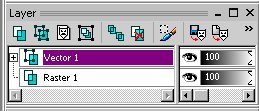
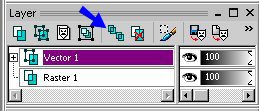
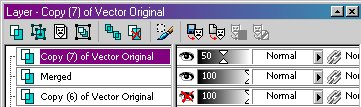
Click on Objects> Align> Center in Canvas.
At this point your layer palette should look like
this.
|
 |
| Right click on Vector1 and click Convert to Raster
Layer. Rename this layer Original Vector.
(To rename the layer, Right Click on the layer name and
choose rename, then type in the name.) |
|
| SAVE |
|
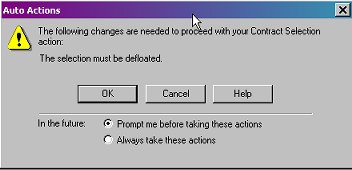
| The marching ants are gone!!! Click
on Selection>Select all then
Click on Selection>float... (now they are
back around the text). Click Selection> Modify>
Contract 3
pixels. (This moves the ants inside
the blue border). When you click enter you may see
this screen. If so just
click OK |
 |
|
Now, using the layer duplication tool, make 9 copies
of your Original Vector layer. (The layer duplication tool is the set of double boxes
at the top of your layer palette)
We will be using the 9 copies and leaving the
original intact. I do this .....just in
case.
|
 |
| Now your layer palette looks like
this: |
 |
| SAVE |
|
| Close all your layers (Click on
Layers>View>None) |
 |
| (Note that beside each layer there will be a red X on
the eye.) |
|
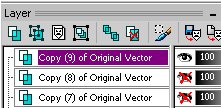
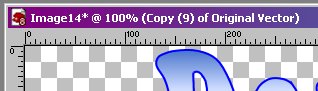
| Click on the layer name Copy 9 of the original Vector
Layer, then
Click on the red X on the eye beside Copy 9 of the Original Vector
Layer. (This activates the layer). |
 |
| You can see the name of the active layer at the top
of your image screen
|
 |
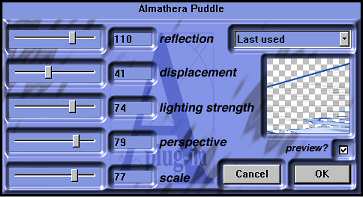
| Click on Effects> Plugins1>
Almathera>A Puddle
The settings are as
follows: reflection 110,
displacement 41, lighting strength 74, perspective 79,
scale 77.
|
 |
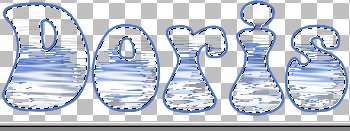
| Now your text looks similar to
this....ugly isn't it? |
 |
| Click on the red X by Layer Copy (8) of
Original Vector |
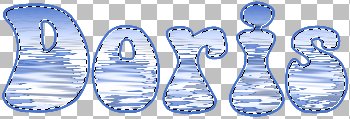 |
| Now it looks kinda like this: |
|
| Right click on the name of one of the 2 open
layers and click Merge>merge visible |
|
| Move Layer Copy (7) of Original Vector above
the merged layer. Click on the red X on
the eye to make it visible. |
|
| Using the slider to the right of
the Layer name, move it to 50. ( You can
experiment with this setting to see what you
like.) |
 |
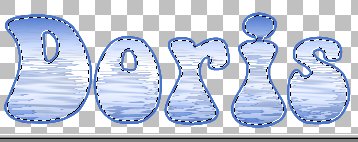
| It will look similar to this |
 |
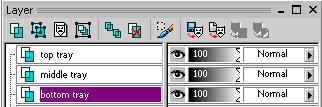
| Place your cursor on the layer name Merged
and Right Click>Merge >Merge
visible. Rename the layer to 1.
Click on the eye to turn that layer
off. |
|
| SAVE |
|
| Click on the red x on the
eye beside Copy (6) of Vector Original
Layer to open it. Click on the layer
name to select that layer. |
|
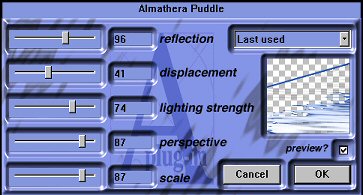
| Click on Effects> Plugins>
Almathera>APuddle
The settings should be as follows:
Reflection 96, displacement 41, Lighting strength 74, perspective 87, scale 87
|
 |
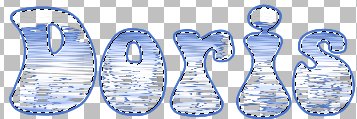
| You will see something similar to
this: |
 |
| Activate copy 5 of Original Vector image |
|
| It should look similar to this: |
 |
| Merge>Merge visible |
|
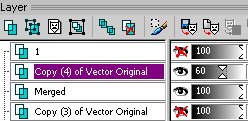
| Move Layer Copy (4) of Original Vector above
the merged layer. Click on the red X on
the eye to make it visible. |
|
| Using the slider to the right of
the Layer name, move it to 60. ( You can
experiment with this setting to see what you
like.) |
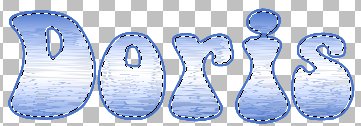
 |
| It should look similar to this: |
 |
| Place your cursor on the layer name Merged
and Right Click>Merge > Merge
visible. Rename the layer to 2.
Click on the eye to turn that layer
off. |
|
| SAVE |
|
| Activate Copy (3) of Vector Original |
|
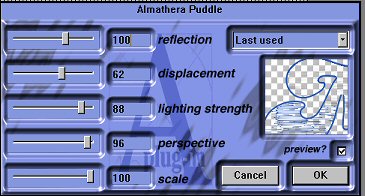
| Click on Effects> Plugins>
Almathera>APuddle
The settings should be as follows:
Reflection 100, displacement 62,
Lighting strength 88, perspective 96, scale 100.
|
 |
| It should look similar to this: |
 |
| Activate copy 2 of Original Vector image |
 |
| It should now look similar to
this: |
|
| Right click on the name of one of the 2 open
layers and click Merge>merge visible |
|
| Move Layer Copy of Original Vector above the
merged layer. Click on the red X on the
eye to make it visible. |
|
| Using the slider to the right of the Layer
name, move it to 50. ( You can experiment with
this setting to see what you like.) |
|
| It should look similar to this: |
 |
| Place your cursor on the layer name Merged
and Right Click>Merge > Merge
visible. Rename the layer to
3. |
|
| Click on the eye of layers 1 and 2
to turn those layers on. |
 |
| You can either delete the layers Vector
Original and Raster1 or just leave them turned
off. I will leave them just turned off. |
|
| SAVE |
Next we will animate the
water. |
| TIME TO ANIMATE |
|
| Open Animation Shop (In PSP
click on File>Jasc Software Products>
Launch Animation Shop) |
|
| Click on the Animation Wizard button |
 |
| This screen opens
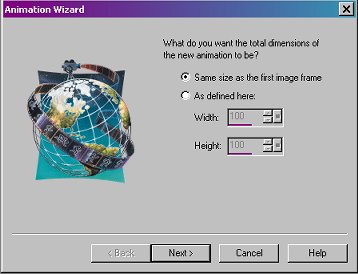
Be sure same size as the first image frame is
checked. Click Next
|
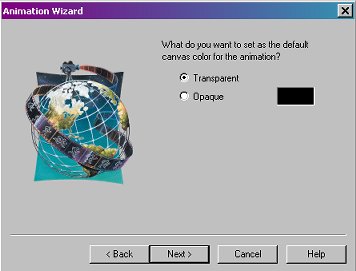
Be sure Transparent is checked. Click
Next |
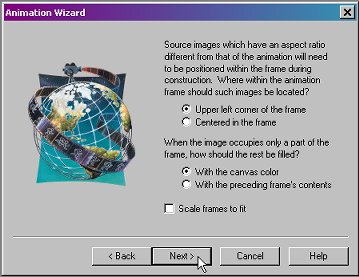
Upper left corner of the frame and with
canvas color should be checked. Click
Next. |
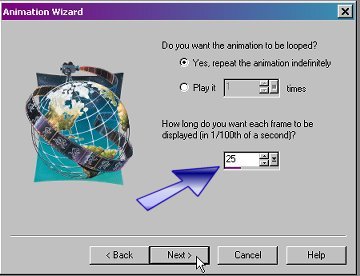
Be sure Yes, repeat the animation
indefinitely is checked.
Change the number in the bottom box to 25.
Click Next. |
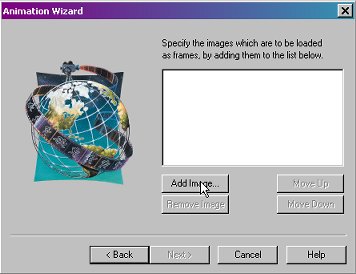
Click Add Image |

Locate your watertext1.pspimage. Click
Open |
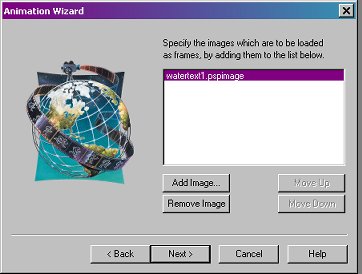
Click Next |
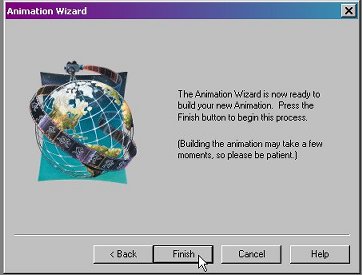
Click Finish |
 |
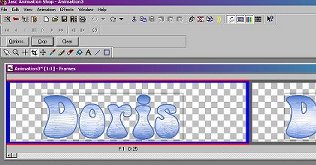
Notice there is lots of empty
space around the text. We need to fix
that. |
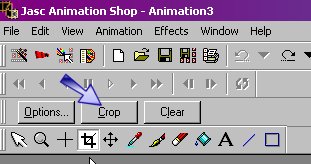
Click on the crop tool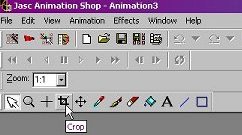 |
Outline the area that you want to
keep. Note that it will outline the same area in
each frame. |
 |
Click on Crop.
 |
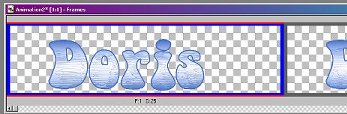
| You will see something like this
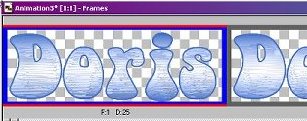
|
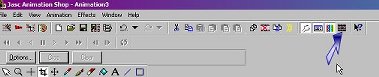
Click on the View Animation tool.
Be sure that the movement is ok. You can
change
the time of the movement if necessary... (See
Below).
 |
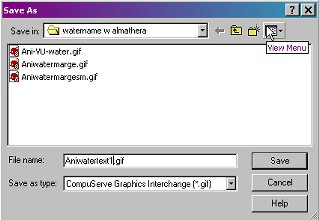
If the Animation is good, click on File, Save
As and give it a filename. (Be sure you
know the
folder it is saved in) Click Save.
 |
This screen determines the quality
versus Output size. I usually choose the
second mark if the picture still looks ok on the
next screen. After clicking on your
choice, Click Next.

|
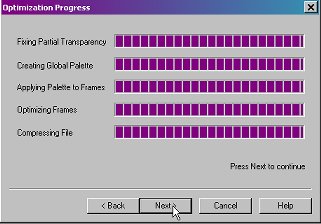
| This screen appears that shows that it is
completing the file save. Click Next
|
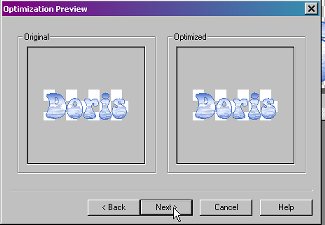
This screen shows the original and
the optimized images. If
the optimized image is satisfactory, click
next. If not satisfactory, click back, and
change the Animation Quality screen.
|
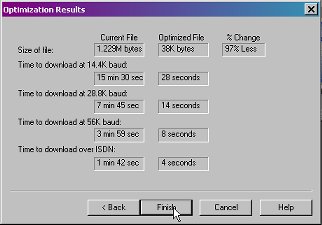
This screen shows the File
sizes and download times as well
as the amount of change. If satisfactory,
click Finish.
|
|
|
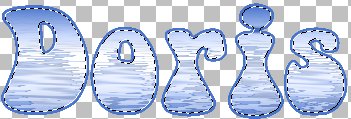
You are done! |
Congratulations. You have
created an animated water Signature Tag |
 |
|
| To
Change the Movement time of the Animation: |
|
| Click on a frame. |
Click on Edit, then Select All |
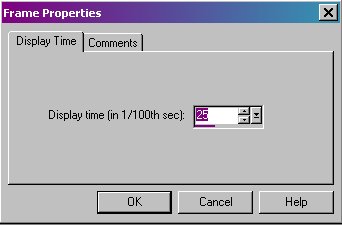 |
Click on Animation then on Frame PropertiesChange the number in the box.
Click OK |
View your animation again. If not
satisfactory, Click on
Animation then on Frame Properties |
Change the number again. Click Ok |
| Repeat as necessary until you are
happy with the animation |
|