| Open
the DCMvaseoutline.psp file. It is in psp
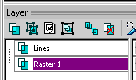
format but was saved to be used in PSP 7
also. Notice that it is in two
layers.
Save this file with a new filename such as
yournameclearvase.psp. (Now the original
image is still there should you need to use it
again.)
With the bottom layer active
and using the Magic Wand tool  ,
select inside the black outline of the vase. ,
select inside the black outline of the vase. |
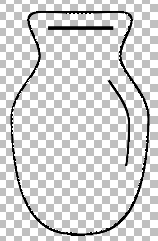 |
Using the flood
fill tool  flood fill with white.
Deselect. (Ctrl D)
|
|
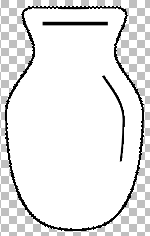
| Using the Magic Wand
tool
select the black outline.
Now hit the delete key to remove the black
outline.
Deselect. (Ctrl D) |
|
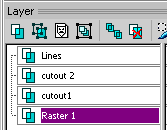
| Duplicate this image 2
times.
Rename these layers Cutout 1 and Cutout 2. |
|
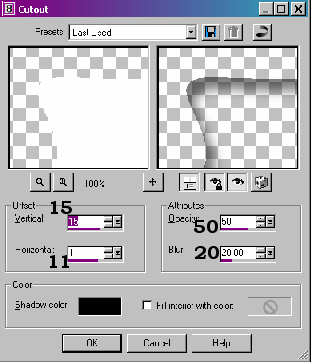
| Make the Cutout 1 layer
active. Click on
Effects>3DEffects>Cutout
Use the following settings:
Vertical 15
Horozontal 11
Opacity 50
Blur 20
Shadow Color Black
Fill interior with color UNCHECKED
Note that the white color is gone from this
image. That's ok. That's why we
made a separate layer for the cutouts.
SAVE. |
|
| Make the Cutout 2 layer
active. Click on
Effects>3DEffects>Cutout
Use the following settings:
Vertical -15 (minus 15)
Horozontal -11 (minus 11)
Opacity 50
Blur 20
Shadow Color Black
Fill interior with color UNCHECKED
SAVE |

|
| Make your Lines layer
active. We will blur these. Click on
Adjust>Blur>Gaussian Blur and set it at
13. SAVE
|
|
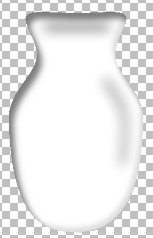
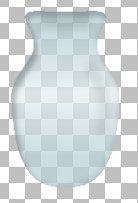
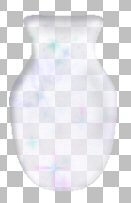
| The image should look
something like this... Not clear is
it? We'll fix that. |
|
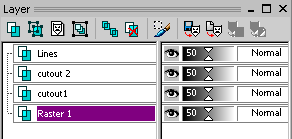
| On your Layer palette
you have opacity sliders on each
layer. Slide them to 50 on each
layer. (Feel free to move these wherever you
like.) |
|
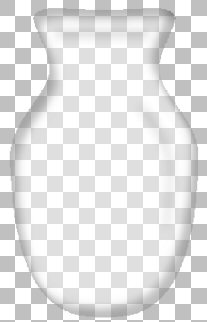
| Now you should have a
nice clear Vase.
SAVE. You need to keep this
as a psp file. That way when you want to
place it on a flower picture so the stems will
show through, you can duplicate the image, merge
all visible layers and copy and paste it in the
other picture.
You can also make a Picture Tube with it.
(merge visible then export as a picture tube) Then
you can change the size to any you want. |
|
| Want one that is a color
or pattern but still clear?
Duplicate the bottom layer, make it active,
select it with the magic wand, then flood fill
with any color or pattern. See my examples
below. |
Because you are
duplicating a layer that is set to be on 50%
opaque, this one will automatically be set to be
50% opaque.
|
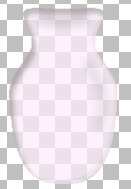
Lt pink color |
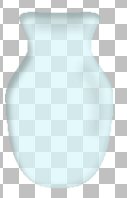
Lt aqua color |
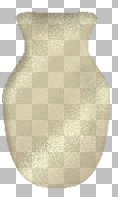
glitter gold pattern |
Ltblues gradient |
Fairy Dust pattern
|
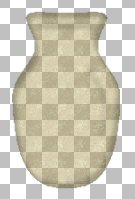
Another gold pattern |
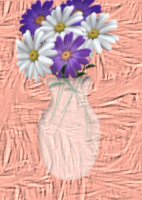
Here's an example of putting the
vase on
a picture of a bouquet of flowers.
This was the white one but notice
that you can see the background through the vase |

|
| Here's
an example with a patterned background. |
 |
The
Fairy Dust pattern had to be applied 3 times in
order for it to show up.
The fairy dust and the gold pattern are
some I created.
|
If you
would like to download these patterns, they
are
HERE |